Making a Revolver
Display Case
by Roy
Seifert
Click here to purchase a zip file with this and
all Kitchen Table Gunsmith Articles.
Disclaimer: This
article is for entertainment only and is not to be used in lieu of a
qualified gunsmith. Please
defer all firearms work to a qualified gunsmith.
Any loads mentioned in this article are my loads for my
guns and have been carefully worked up using established guidelines and
special tools. The
author assumes no responsibility or liability for use of these loads,
or use or misuse of this article.
Please note that I am not a
professional gunsmith, just a shooting enthusiast and hobbyist, as well
as a tinkerer. This
article explains work that I performed to my guns without the
assistance of a qualified gunsmith.
Some procedures described in this
article require special tools and cannot/should not be performed
without them.
Warning: Disassembling
and tinkering with your firearm may void the warranty.
I claim no responsibility for use
or misuse of this article. Again,
this article is for entertainment purposes only!
Tools
and firearms are the trademark/service mark or registered trademark of
their respective manufacturers. Click on any
blue text to go to a
product/seller web site.
Introduction
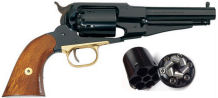
I
wanted to make a display case for my two Remington 1858 New Army Revolvers
built by Pietta. I’ve seen
revolver display cases for sale on eBay, but they were too expensive, so I
decided to build my own. I
wanted to display the two revolvers, the two .45 LC conversion cylinders,
and extras like a bullet mold.
Case
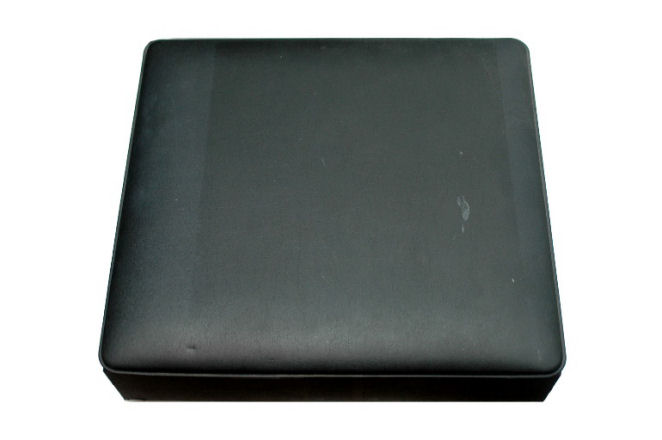
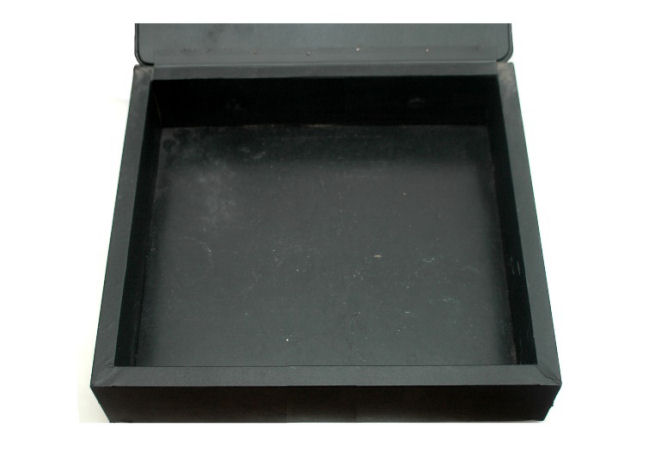
My
wife purchased a storage box from Goodwill.
The inside of the box measured 14.5” x 13” x 2.75” which is perfect for
everything I wanted to store. The
box was made of wood with a leather lid.

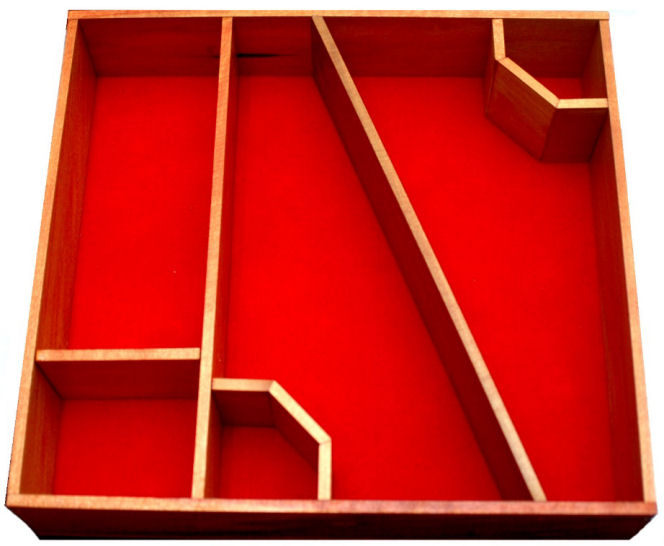
Using
CorelDRAW v12 I designed the interior to hold both revolvers, the conversion
cylinders, and extra spaces for a bullet mold, cartridge boxes, and percussion
cap tins. I used 1/4” for the walls
and dividers.
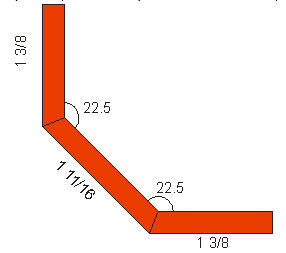
I
designed a separate partition for the .45 LC conversion cylinders.
The angle cuts are 22.5-degrees.
Two of them together makes a 45-degree angle, two 45-degree angles make
90-degrees.
Materials
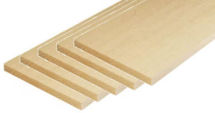
I
purchased five 1/4” x 3” x 24” hardwood boards from
Home Depot Internet # 333500566 Model # PW006-BA024C UPC Code # 043559006246
Store SKU # 1013211562. This
gave me enough wood plus some extra in case a made a mistake.
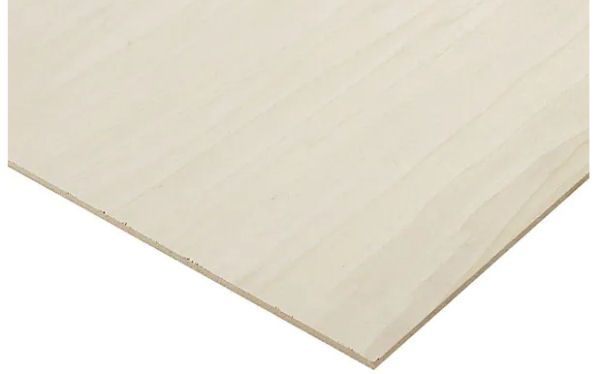
I also
purchased a
1/4 in. x 2 ft. x 2 ft. PureBond Poplar Plywood Project Panel from Home
Depot for the base of the interior.
The store didn’t have them in stock so I had to order it for delivery.
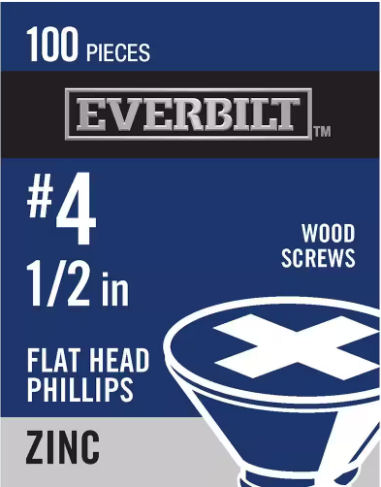
I
purchased a package of 100 #4 x 1/2 in. Phillips Flat Head Zinc Plated Wood
Screws
Internet # 204275520 Model # 801742 UPC Code # 887480017427 Store SKU # 251313.
These will hold the walls and dividers together and to the wooden base.
Cutting the Wood
Following my diagram I should have cut the base to 14 1/2 x 13, but I made a
mistake and cut it to 14” x 13”.
(Measure twice, cut once!) So I had
to adjust my 14 1/2 walls to 14”.
I
trimmed the boards to 2.75” wide on my table saw.
First I cut the 14” and 12 1/2” walls and main divider.
Then I cut the long angled divider, the horizontal divider, then the
individual pieces for the conversion cylinder walls.
Assembly
I
glued the conversion cylinder walls together with wood glue and set them aside
to dry. I didn’t use any clamps, but
I was surprised how solidly the Titebond II setup.
I
aligned the pieces together and used a #38 drill bit to drill the assembly
holes. I used a countersink bit to
countersink the holes so the screws would be flush with the bottom and sides.
I assembled all the pieces to ensure they would fit.
Finishing
I
disassembled all the pieces and marked them so I would know how to reassemble
and get the holes lined up correctly.
First I glued red felt to the inside bottom of the base.
This is to protect the finish on the guns and cylinders.
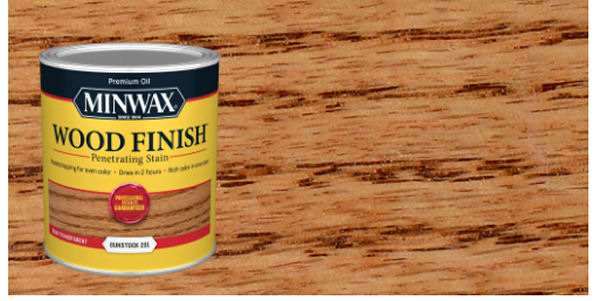
I
finished the walls and dividers with Minwax Gunstock.
This is my favorite finish for, believe it or not, gun stocks!
After
the stain dried I applied a first coat of polyurethane.
This raised the grain of the wood, so after it dried, I sanded with
320-grit sandpaper and applied a second coat of polyurethane.
After
the second coat of polyurethane dried, I assembled the interior and placed it in
the case. I added a decorative latch
to the outside.
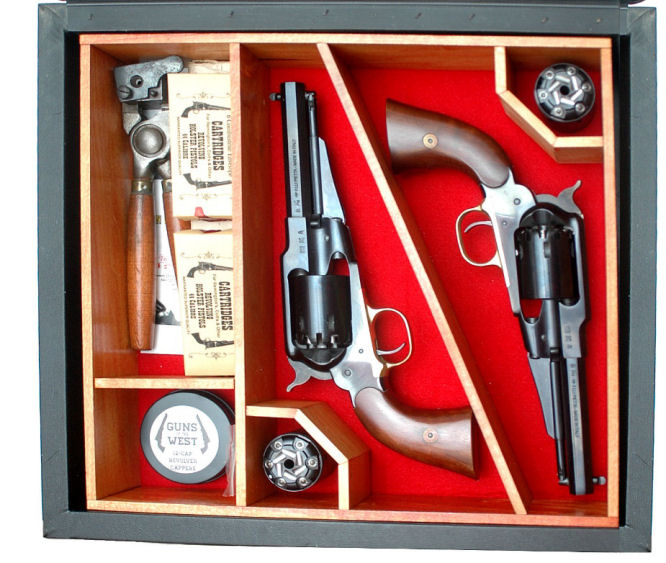
The
above photo shows the finished result.
The contents are:
·
Two
Remington 1858 New Army Sheriff’s model revolvers by Pietta
·
Two
.45 LC conversion cylinders by
Taylors & Company
·
One
.457 steel bullet mold
·
One
brass .45 round ball and conical combination bullet mold
·
Instructions for the conversion cylinders
·
Note
to use .457 round balls with the two revolvers
·
Two
paper cartridge boxes
·
One
2-ounce cosmetic tin with three 12-star cappers from Guns of the West
I am
very pleased with the result and it looks very nice.
The red felt sets off the blued finish of the guns.
|
